1977 GMC Palm Beach

Our resto-mod RV, 2002 to present

Select Upgrade from List

Headliner Replacement


Headliner/Wall Replacement + Blinds 4/28/2002
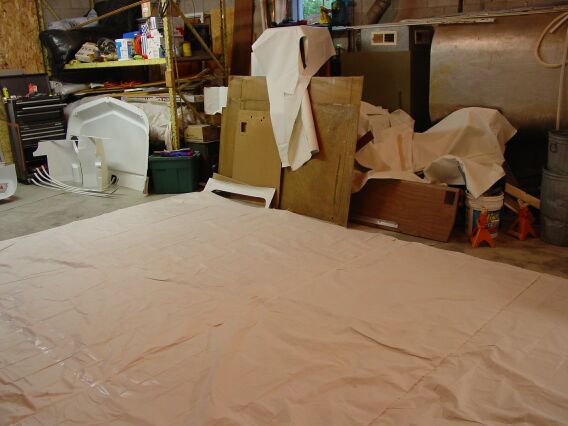
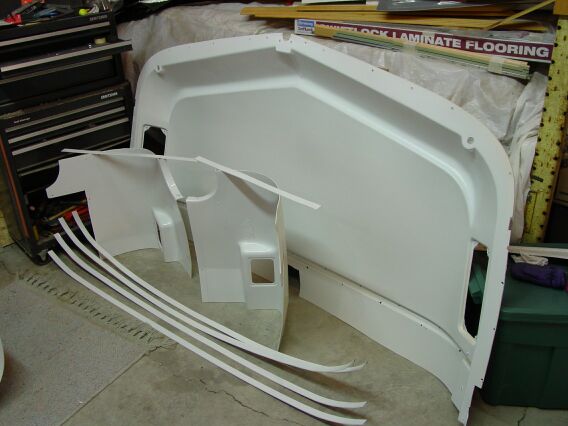
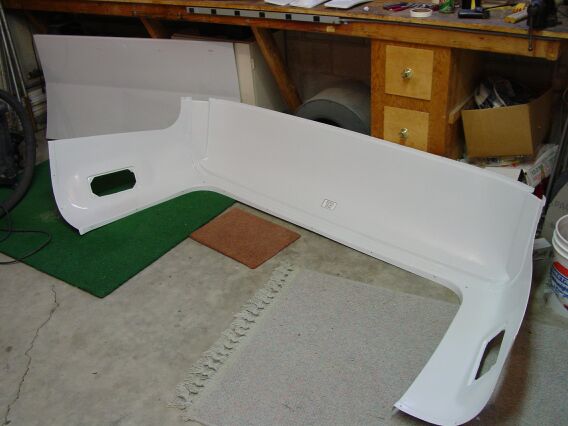
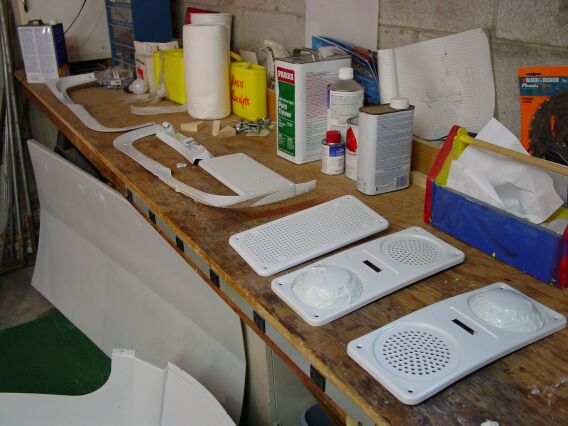
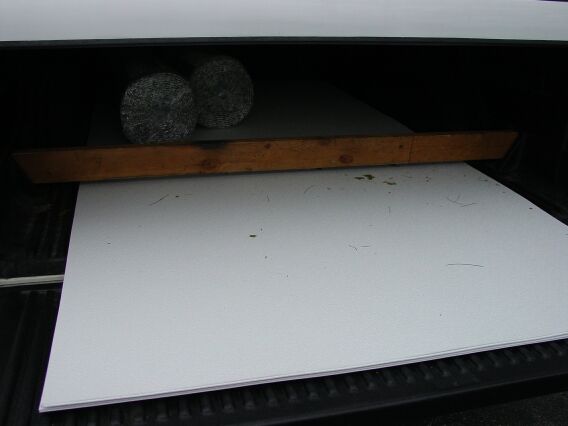
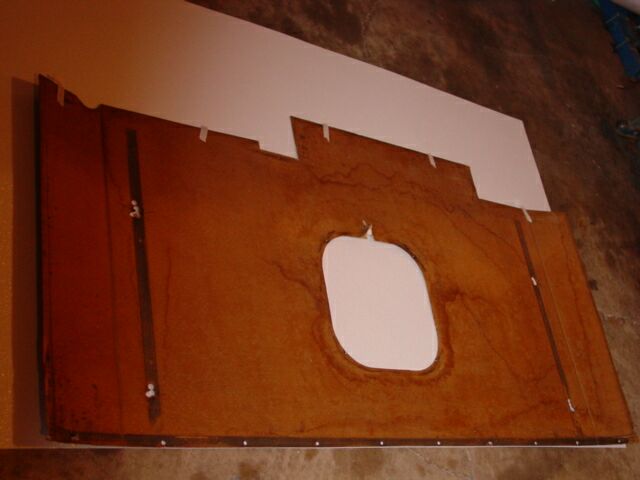
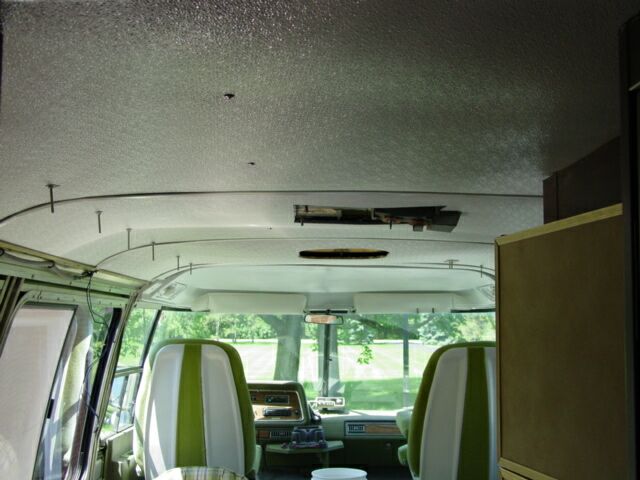
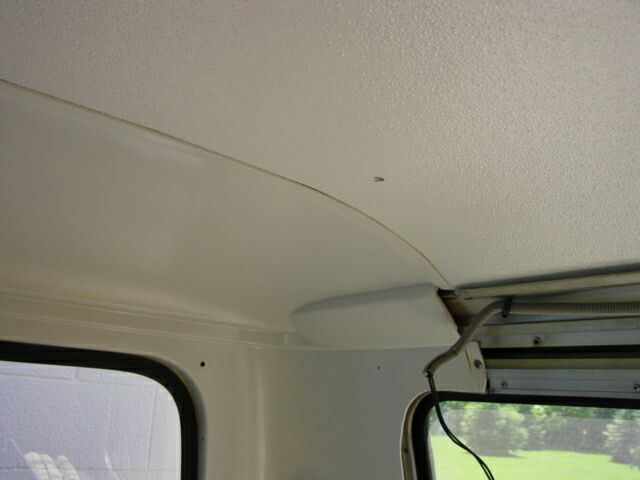
First two pics are the "after" followed by the "before" with description


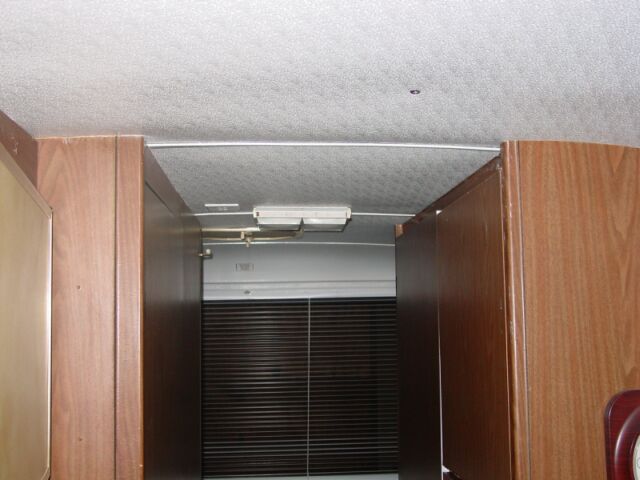
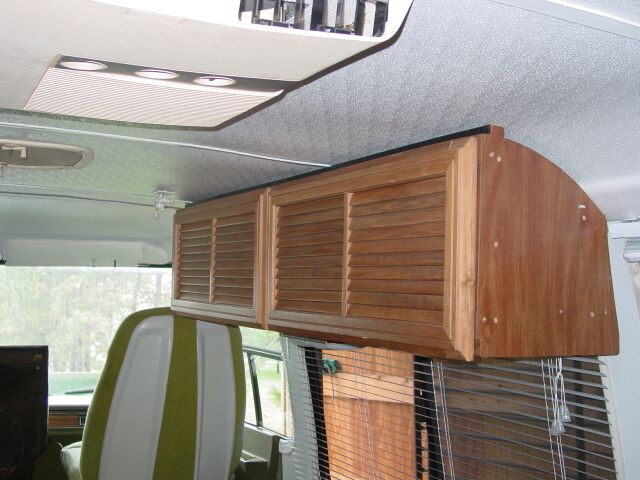
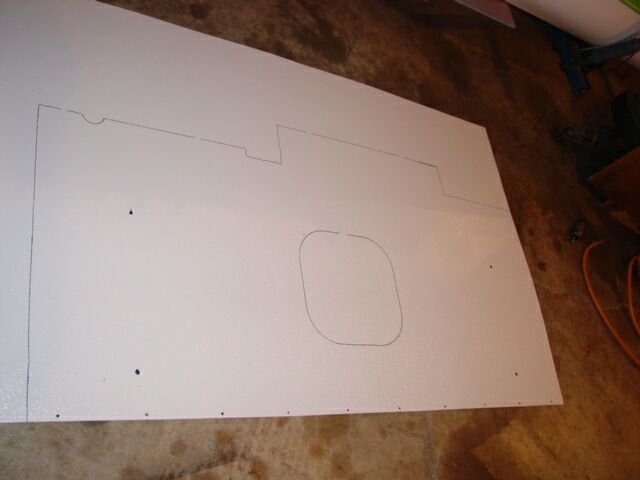
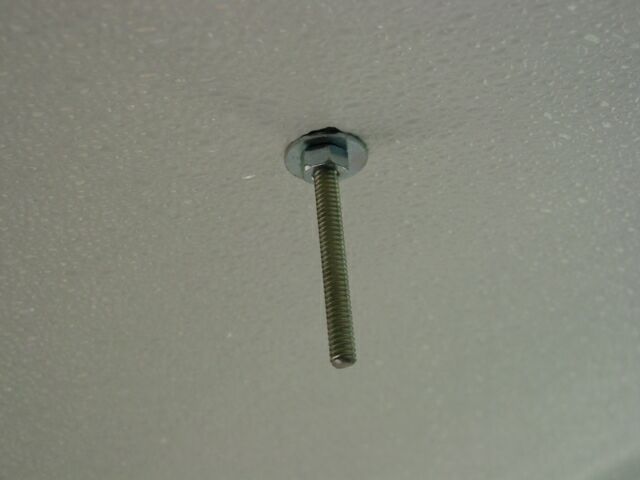
First things first, got to get rid of the failing headliner replacement.
Remove and paint plastic components... no more yellow! The original light
cream had yellowed almost to a light brown.
Removal Time: 4 hours, including cabinets and rear seating.
Painting Time: 6 hours including trip to NAPA for paint, cleaning up my barn.
Installation Time: Don't know yet
Cost: FRP Panels + Insulation $225, Paint $31.

4/28/2002


Here are the old cardboard headliners with the fabric protecting the cabinets from over spray.


The newly painted cap, tail corners and bows. No more yellow! 


 Rear cap and flat tail.


 The little pieces. I ran out of patience trying to get those lights disconnected so snipped the wires and will re-solder them later.


The new headliner. Decided on a FRP panel. Fiberglass textured panels 1/8" thick and flexible enough to make the bends. Available at Lowes/Home Depot for about $25 a sheet. Two rolls of reflective foil insulation just for good measure, $40/roll. Sorry about the picture... they are just laying inside my truck bed.


Trace the old cardboard headliner


Used a black Sharpie marker. If you get "outside the lines" it can be cleaned with Acetone.


Tried a die grinder but was uncontrolable. I ended up getting a roto-zip style cutter and using a drywall bit.


The finished peice... and a tired soccer player.

.


Here is the headliner installed. Notice the all-thread rod cut to hang the cabinets temporarily. I also glued the foil/bubble wrap style insulation to the FRP panels before putting them up. It made a dramatic improvement in the temp control of the coach. It was noticable even with just a few of the panels in place.

Here is a closeup of the all-thread. I cut about 3-4 inch peices with a hacksaw then rounded the ends with a bench grinder. Should make hanging the cabinets much easier. After I hang the cabinets on these, I will remove them one at a time and replace with the bolt.

Here is the rear headliner with the painted caps.


Creative Commons License
This work is licensed under a Creative Commons Attribution-ShareAlike 3.0 Unported License

About the Author: Mike Teets is an IT Innovation Consultant, Father of 3, outdoor sports enthusiast and builder/restorer of things
Built with Twitter Bootstrap Version 2.2.2