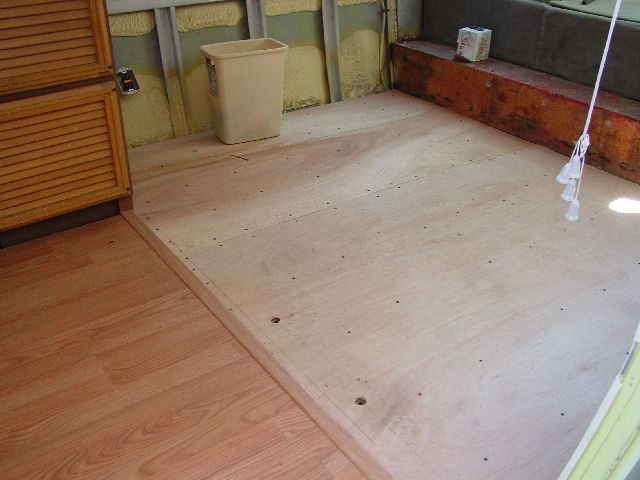
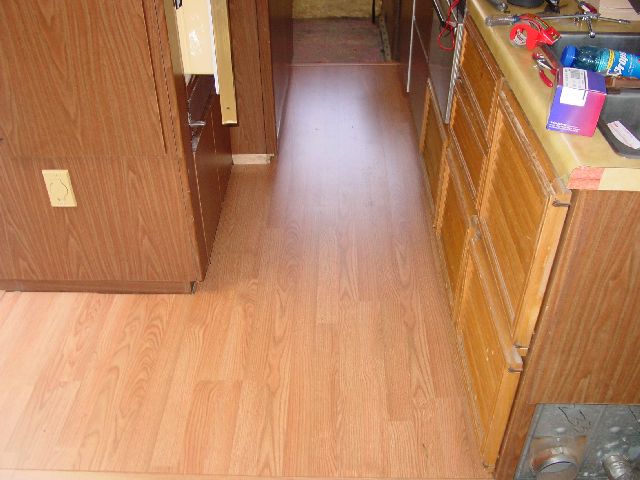
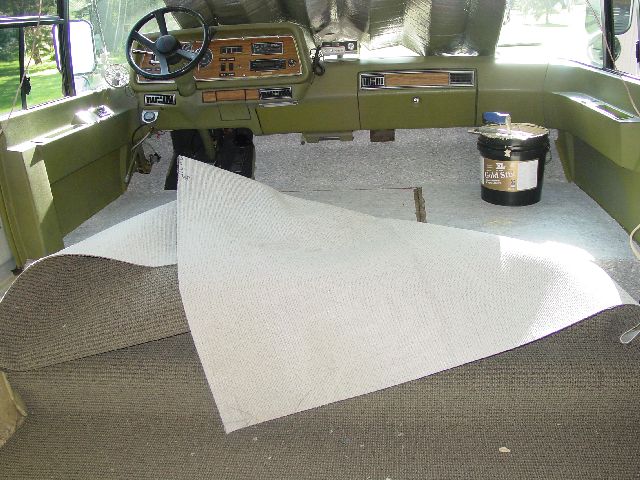
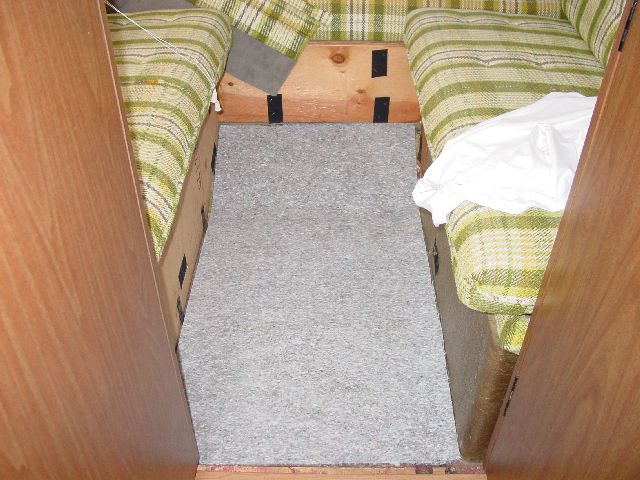
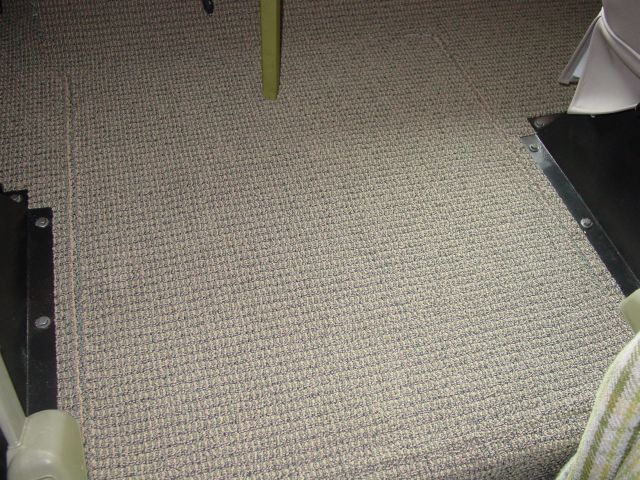
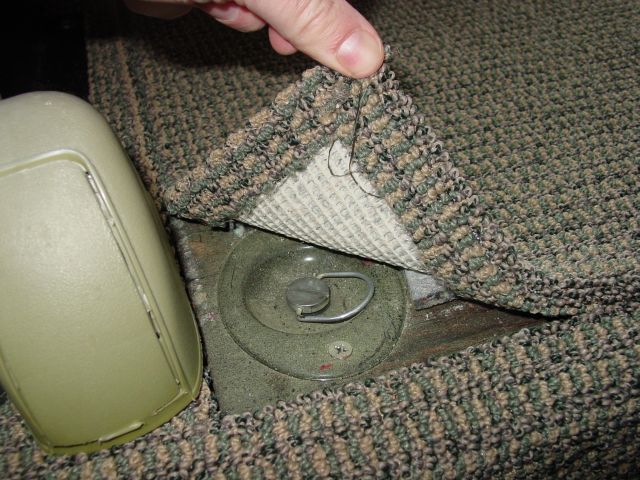
The previous owner had attempted to replace the carpet but
it was not a good color or installation. See http://teamteets.org/gmc/oldinterior.html
pictures of the gray-green-pink combo! Our typical use of the coach is taking
the family sailing at beaches so sand and carpet in the entrance area was
not a good match.
The first thing I did was pull the seats and wall surfaces at
floor level. Remove the cabinet toe-kick in front of heater and any trim
that may have been added over the years. I also removed the hundreds of
staples from the previous installation. If someone ever tells you that stapling
the entire installation of carpet is the right way to install, find another
installer. With the temperature fluctuations and flexibility of the coach,
you will have wrinkles and a tough time replacing later. I chose to put
a layer of 1/4 luan plywood over the main floor. I considered using a marine
grade but it was not immediately available to me and we had a trip planned
in a few weeks. I did this to make the floor more solid especially where
some soft spots had developed... mostly around poor construction techniques
at the factory. I used a short drywall screw to secure to floor about every
8 inches. These screws would not penetrate the existing floor into the insulation.
After finishing the preparation, I installed an Armstrong laminate
floor in the kitchen and hall area.
The following is a picture looking back at the floor.
Now for the carpet. My parents owned a carpet store until just
a few years ago when they retired. One of the weird things is that the smells
of carpet glue, unrolled new carpet and pad on a hot day all remind me of
my childhood. I guess I qualify as a "retired" carpet installer
although I will be working for at another 25 years before I can really retire.
Carpet chosen is a commercial grade level loop with good sun
resistance. With a little effort you can find a really good commercial remnant
in a suitable color for less than $200. You must go to the smaller contract
shops as most of the big box home retail stores just have residential grades.
Caution: they will often call all level-loops a commercial carpet. Using
commercial grade carpet is better as it is typically easier to clean especially
for oil based products tracked in from the outside. It is unfortunately
also a little harder to work as the backing and surface are stiffer and
heavier than typical residential weights. A neat trick is to work it on
a really hot, sunny day. Leave the material lay unrolled on a blacktop driveway
until you are ready to install... then you get about 30 minutes of easy
working installation with soft backing before it cools again.
As you can see I used a double glue technique... or sometimes
called double stick pad. This is not a pre-glued double stick like they
had during the 70's for do-it-yourselfers. It is a relatively firm pad with
a gluing scrim on both sides. See links at the bottom of the page for references
to other flooring how-tos. First you spread the floor, place the pad and
then glue the pad surface again after cutting in the carpet. As you can
see below I left the pad about 1 inch short of the wood edge. This is to
"turn and tack" the edge of the carpet. Just fold over about an
inch and staple to floor. I used this technique around the engine hatch
also. This does mean you will need a little extra... i.e. after you cut
the engine hatch hole, leave enough to turn and tack, you will need another
piece larger than the hatch to turn and tack. Make sure you keep the carpet
"grain" running the right direction. Mark the back with a pencil
pointing in the same direction on all of your cuts if you are not experienced
at identifying the grain of carpet. You should always "walk up"
the grain... i.e. the yarns should be leaning toward the doorway, perpendicular
to the longer length of the room (not the left and right sides of coach).
Here is the method I used to finish the hatch area. I cut the
carpet a few inches overlapping the hatch hole with the hatch removed. I
turned and tacked the carpet around this edge. Another option is to take
the carpet to a carpet store that has a binding machine and bind the edges.
Binding is the edge you typically see on throw rugs. While that method would
work, it would leave a more visible edge when complete. The turn and tack
method works best with a cut pile carpet and the edge will virtually disappear.
The stiff level loop I used shows more although still very acceptable. Using
an electric tacker with brass tacks is the best. Make sure you "nuzzle"
the head in between the yarns so you don't tack down the face yarns leaving
dents around the edge. One tack every 4 to 6 inches is probably sufficient.
Next I cut a second piece about 8 inches larger than the hatch
in both directions. This was to make sure I could get a good match. Even
on a piece without a pattern like this one, you must take care to line up
the grain direction as well as make sure the loops are lined up straight
and even with the non-hatch carpet. After this is done, cut the carpet to
about a 1 1/2 inch overlap and turn and tack the carpet to the hatch. There
are two options on the hatch latches. First is to put the entire latch on
top of the carpet and have it visible on the finish. I chose the other option
to turn and glue edges but leave enough unattached to pull up for access.
I used a strong commercial carpet hot glue to permanently fold over the
edge in the corner. You can see the pad peeking through on the corner...
Notice that the pad is cut back to the edge of the folded under carpet.
This is visible in the picture a few up also. This keeps the entire surface
at the same level.
Don't: Stay away from all foam backed carpet (foam attached to
carpet) as it is mostly very cheap and won't hold up to the temp extremes
and traffic of the RV. Never use tack strip with foam or rubber backed carpet.
Tacking carpet around the edge is marginally acceptable... same temp extremes
are going to be hard on most modern carpet backings. New backings are no
longer natural jute fiber but instead a synthetic with names like action-back,
etc. These are plastics that stretch in heat and shrink in cold. Do not
attempt to use carpet tack strip with power or kick stretching, you are
asking for trouble as the carpet will pull off the strip with such small
area, coach flexing and the temperature changes.
Do: The best method for a motorhome is a double-glue installation.
This means the pad is glued to the floor then the carpet is glued to the
pad. There is a special pad for this with a glueing scrim on both sides.
This is typical of hotel carpet installations so find a commercial or contract
supplier in your area for supplies. There are lots of alternatives that
many have used in RVs but if you want to do it once, have it stay where
you put it and have a trouble free long life, stick with this method.