Gas Tanks
Run the fuel down as low as possible. My gauges were almost on E and I still ended up with 14 gallons of gas to wrestle.
Jack the rear of the coach 3-4 inches minimum or use planks. Jack stands are necessary especially in case you hit an air line and deflate your air bags. Never depend on the air bags to support the coach while you work under it. Dropping the tanks you get really close to these lines and it would be really easy to snare one and pull it open. Be safe!
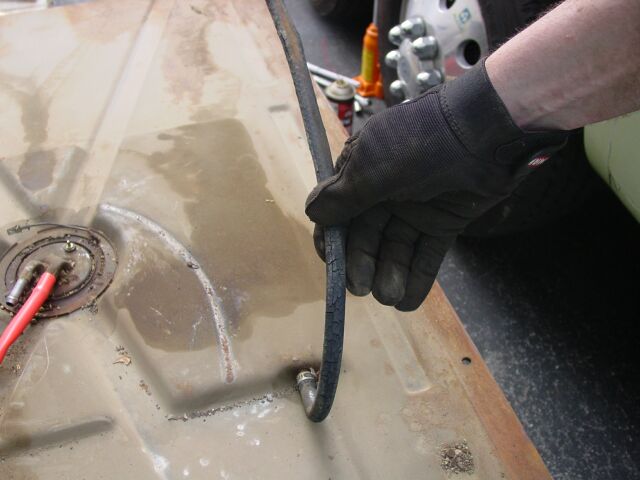
Drop the front tank first (two nuts on the straps and three bolts into the frame). Cut the lines with a utility knife. Disconnect the wires carefully. The little plastic plug will release by rocking the wire back and forth the flat direction (hope that makes sense), the dome shapped rubber one just pops up. Use a floor jack and a 2x6 to support the tank so you can drop it slowly especially if much fuel. You could drain using the drain plugs if you could find a big pan in your wife's kitchen:-) Mine was home so I didn't try.
Drop the rear tank next. Same two strap nuts and three bolts.
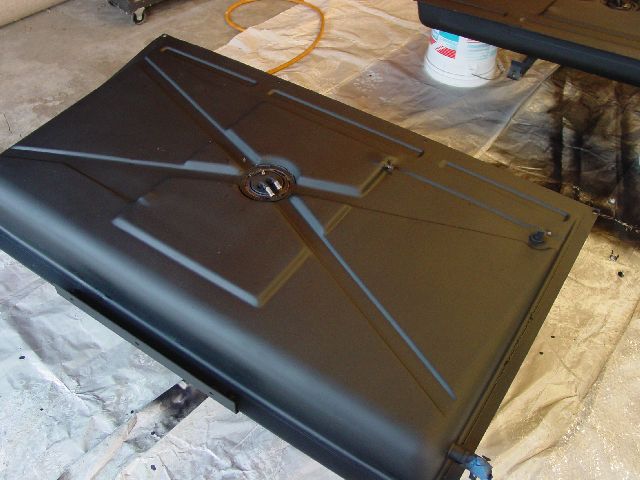
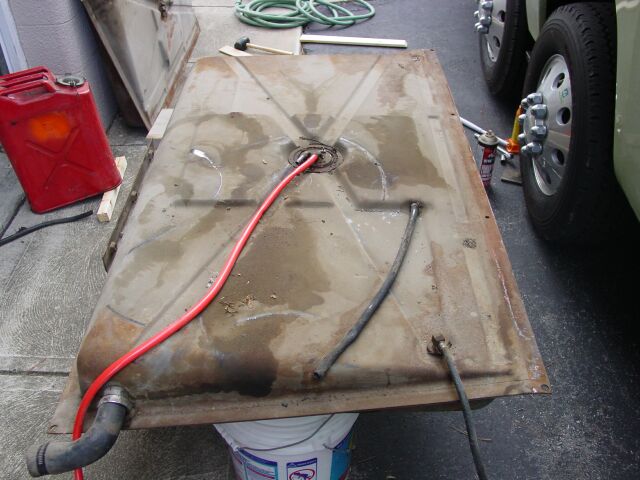
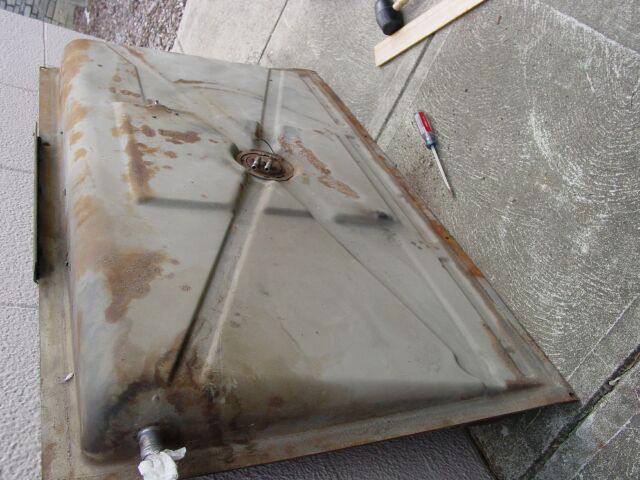
Once I opened up the tanks I found the interior was virtually rust free. I installed new socks from Cinnibar, new gaskets and put them back together. I then used a drill and an abrasive pad from 3M to strip the exteriors clean. I followed up with metal etching acid to get the remaining rust. I primed and painted with Rustoleum bug bombs. As you can see from the pictures above they look almost new.
Putting the tanks back on was a bit of a challenge as I did it by myself with no help. Made it difficult to jockey the tanks around and get the hoses all lined up. I found the appropriate fuel selector valve by looking around on bdub's site and a visit to NAPA. I also replaced all the lines up to the steel going to engine. Also replaced the filler lines with Cinnabar replacements. Added an inline filter on the frame... clear plastic so I can see when it gets dirty.
All in all it was quite a job. If you are ambitious, go ahead and try because there isn't much to think about, just brute force labor. If you are leery about throwing around heavy tanks you had better get some help.

This work is licensed under a Creative Commons Attribution-ShareAlike 3.0 Unported License